
Written by Daniel Mariotti
Photos and Video by Daniel Mariotti
Much of what happens when an original from an artist first enters the shop (aside from taking detailed photographs) is to assess the best way to go about molding it; while keeping in mind the processes that follow. Every object is unique and it needs to be treated that way. There are guidelines which streamline that, but the time still needs to be taken to look over the work and form a game plan for your mold.
Mold Strategy
When it comes to mold-making, knowing how to seal and release a piece could be the difference between having a mold that is used for multiple editions and is able to withstand years of storage or one that will need to be repaired and replaced down the road.
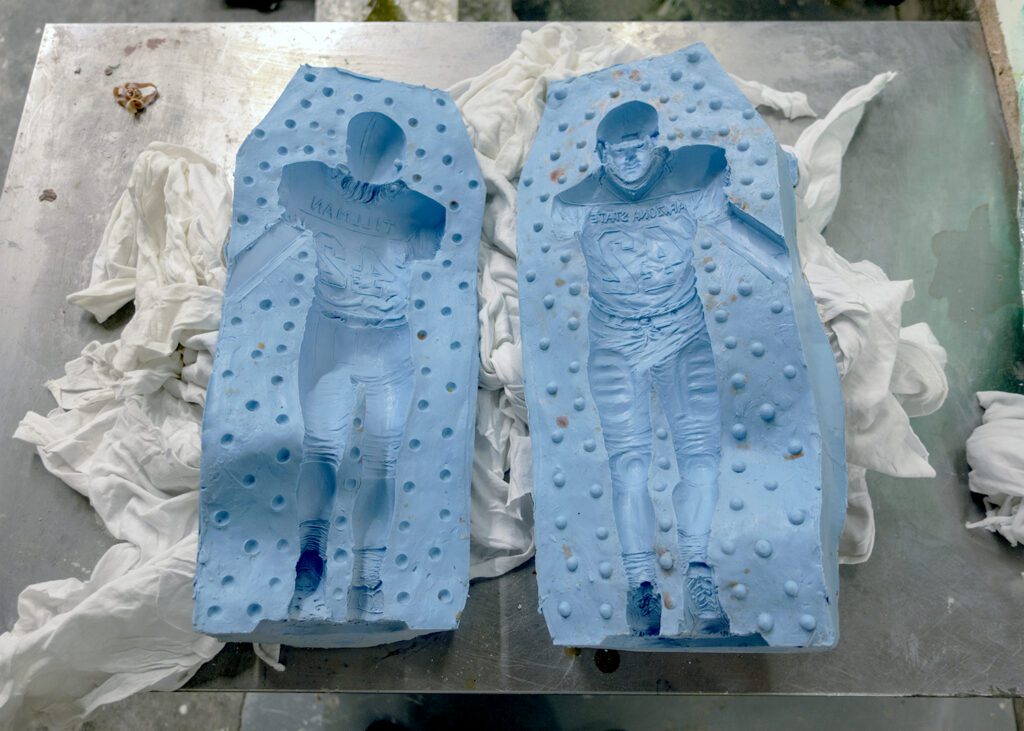
The benefit of “releasing” a piece before molding it is the ease of de-molding. Ideally, the original will pop out without any damage done to it, and without tearing the mold. However, without release, de-lamination of the original’s surface may occur. This may then stick to the mold, which can result in surface damage upon removal. Keep in mind that when working with a clay original, it is typical to have some of the clay stick upon de-molding it. Luckily, the clean-up for that is much easier than other materials. If the piece has a lot of undercuts and thin spots in the rubber, not releasing it properly may tear the mold. This can also be avoided by choosing the right durometer of rubber and splitting the mold strategically.
Prepping the Original
Be mindful of the type of material the original is made of. For instance, if a piece made of wood or plaster is received, make sure to seal it properly. These materials are porous and can cause de-molding issues. They essentially act like Velcro, mechanically locking the mold with the pores of the material. For these types of materials, we initially seal it with clear lacquer (such as Permalac) followed by paste wax. This can be tested by spraying a bead of water on it and seeing if it is still soaking in or running off the surface. Then, just re-apply the paste wax as needed.
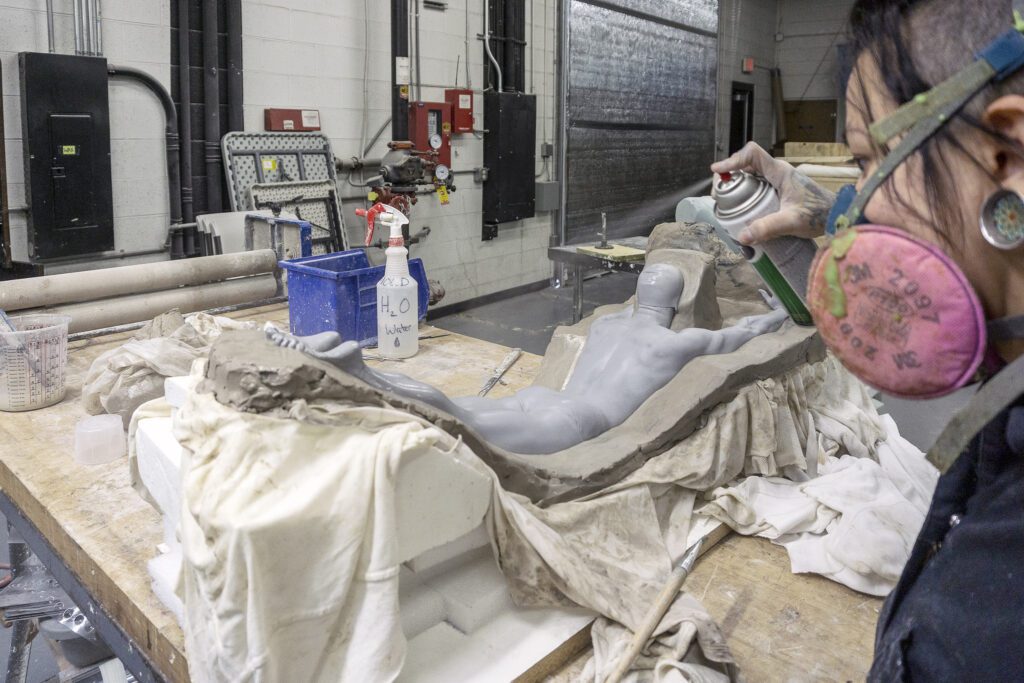
The second part of this is to release it thoroughly. Again, depending on the details we either use Vaseline, ZIP mold release, or Pol-Ease. Remember that this process is used for heavily porous materials. However, the most frequent material seen in sculpture is clay. Our process for clay varies slightly. Typically, we seal the piece with lacquer. This gives the clay a small protective coating that helps when handling the artwork, effectively making the piece a little more rigid. Once the piece is prepped and ready for rubber we release it with Pol-Ease (or ZIP for layups with silicone). This technique proves to be effective in getting the best pattern out of the mold and also the least amount of cleanup after de-molding.
Cautions
There are some things to consider when applying sealants. Over spraying, or not spraying evenly, can lead to the formation of a pooled pattern on the piece. Sealants add material, and if sprayed too aggressively (too close to the piece) or for too long in one area, that material build up can cause a pooled relief in that area. These areas can have a splotchy, less detailed appearance. To prevent that, shake up the can thoroughly (if using a rattle-can) and spray at a steady pace, starting and ending off of the piece. When using a brush to apply the coat of sealant, ensure that the brush isn’t soaked in it. Apply the sealant in light layers and check between layers using the water bead method.
Below we’ve added a “material list” of the products we use for sealing and releasing. Note that your needs may be different from ours so use this as a starting point:
ZIP Envirelease Pattern Release Mold Release: https://www.emicorp.com/item/ME%2B301S/A533-Zip-Envirelease-Pattern-Release-Mold-Release/
Pol-Ease 2450 Release Agent: https://www.polytek.com/products/pol-ease-2450-release-agent
Krylon Clear Coat Laqcuer: https://www.krylon.com/products/crystal-clear-acrylic/
Permalac Clear Coat: https://permalac.com/which-permalac-product/